28 Aug 2020
Garage Door DIY Tips
5 min read
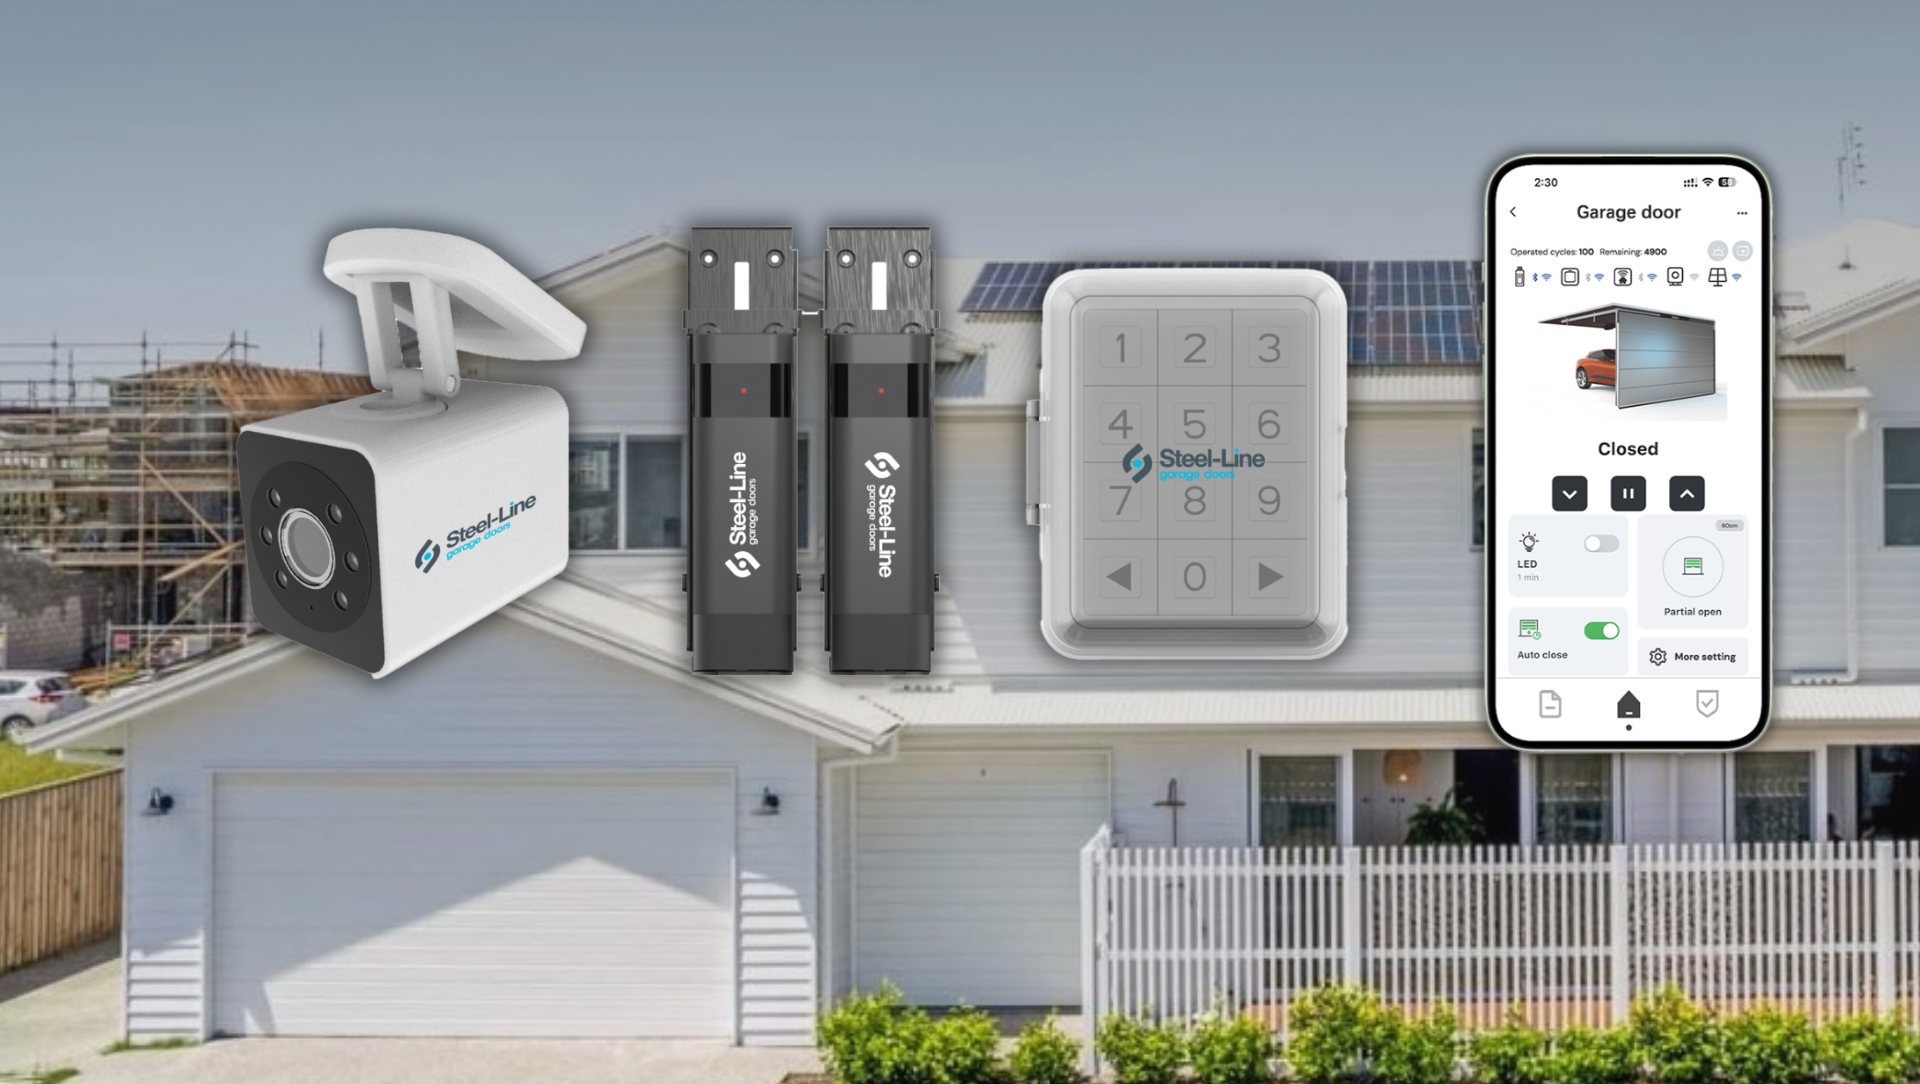
Take your garage to the next level with our NEW Smart Opener and Accessories range.
Click here to learn more.

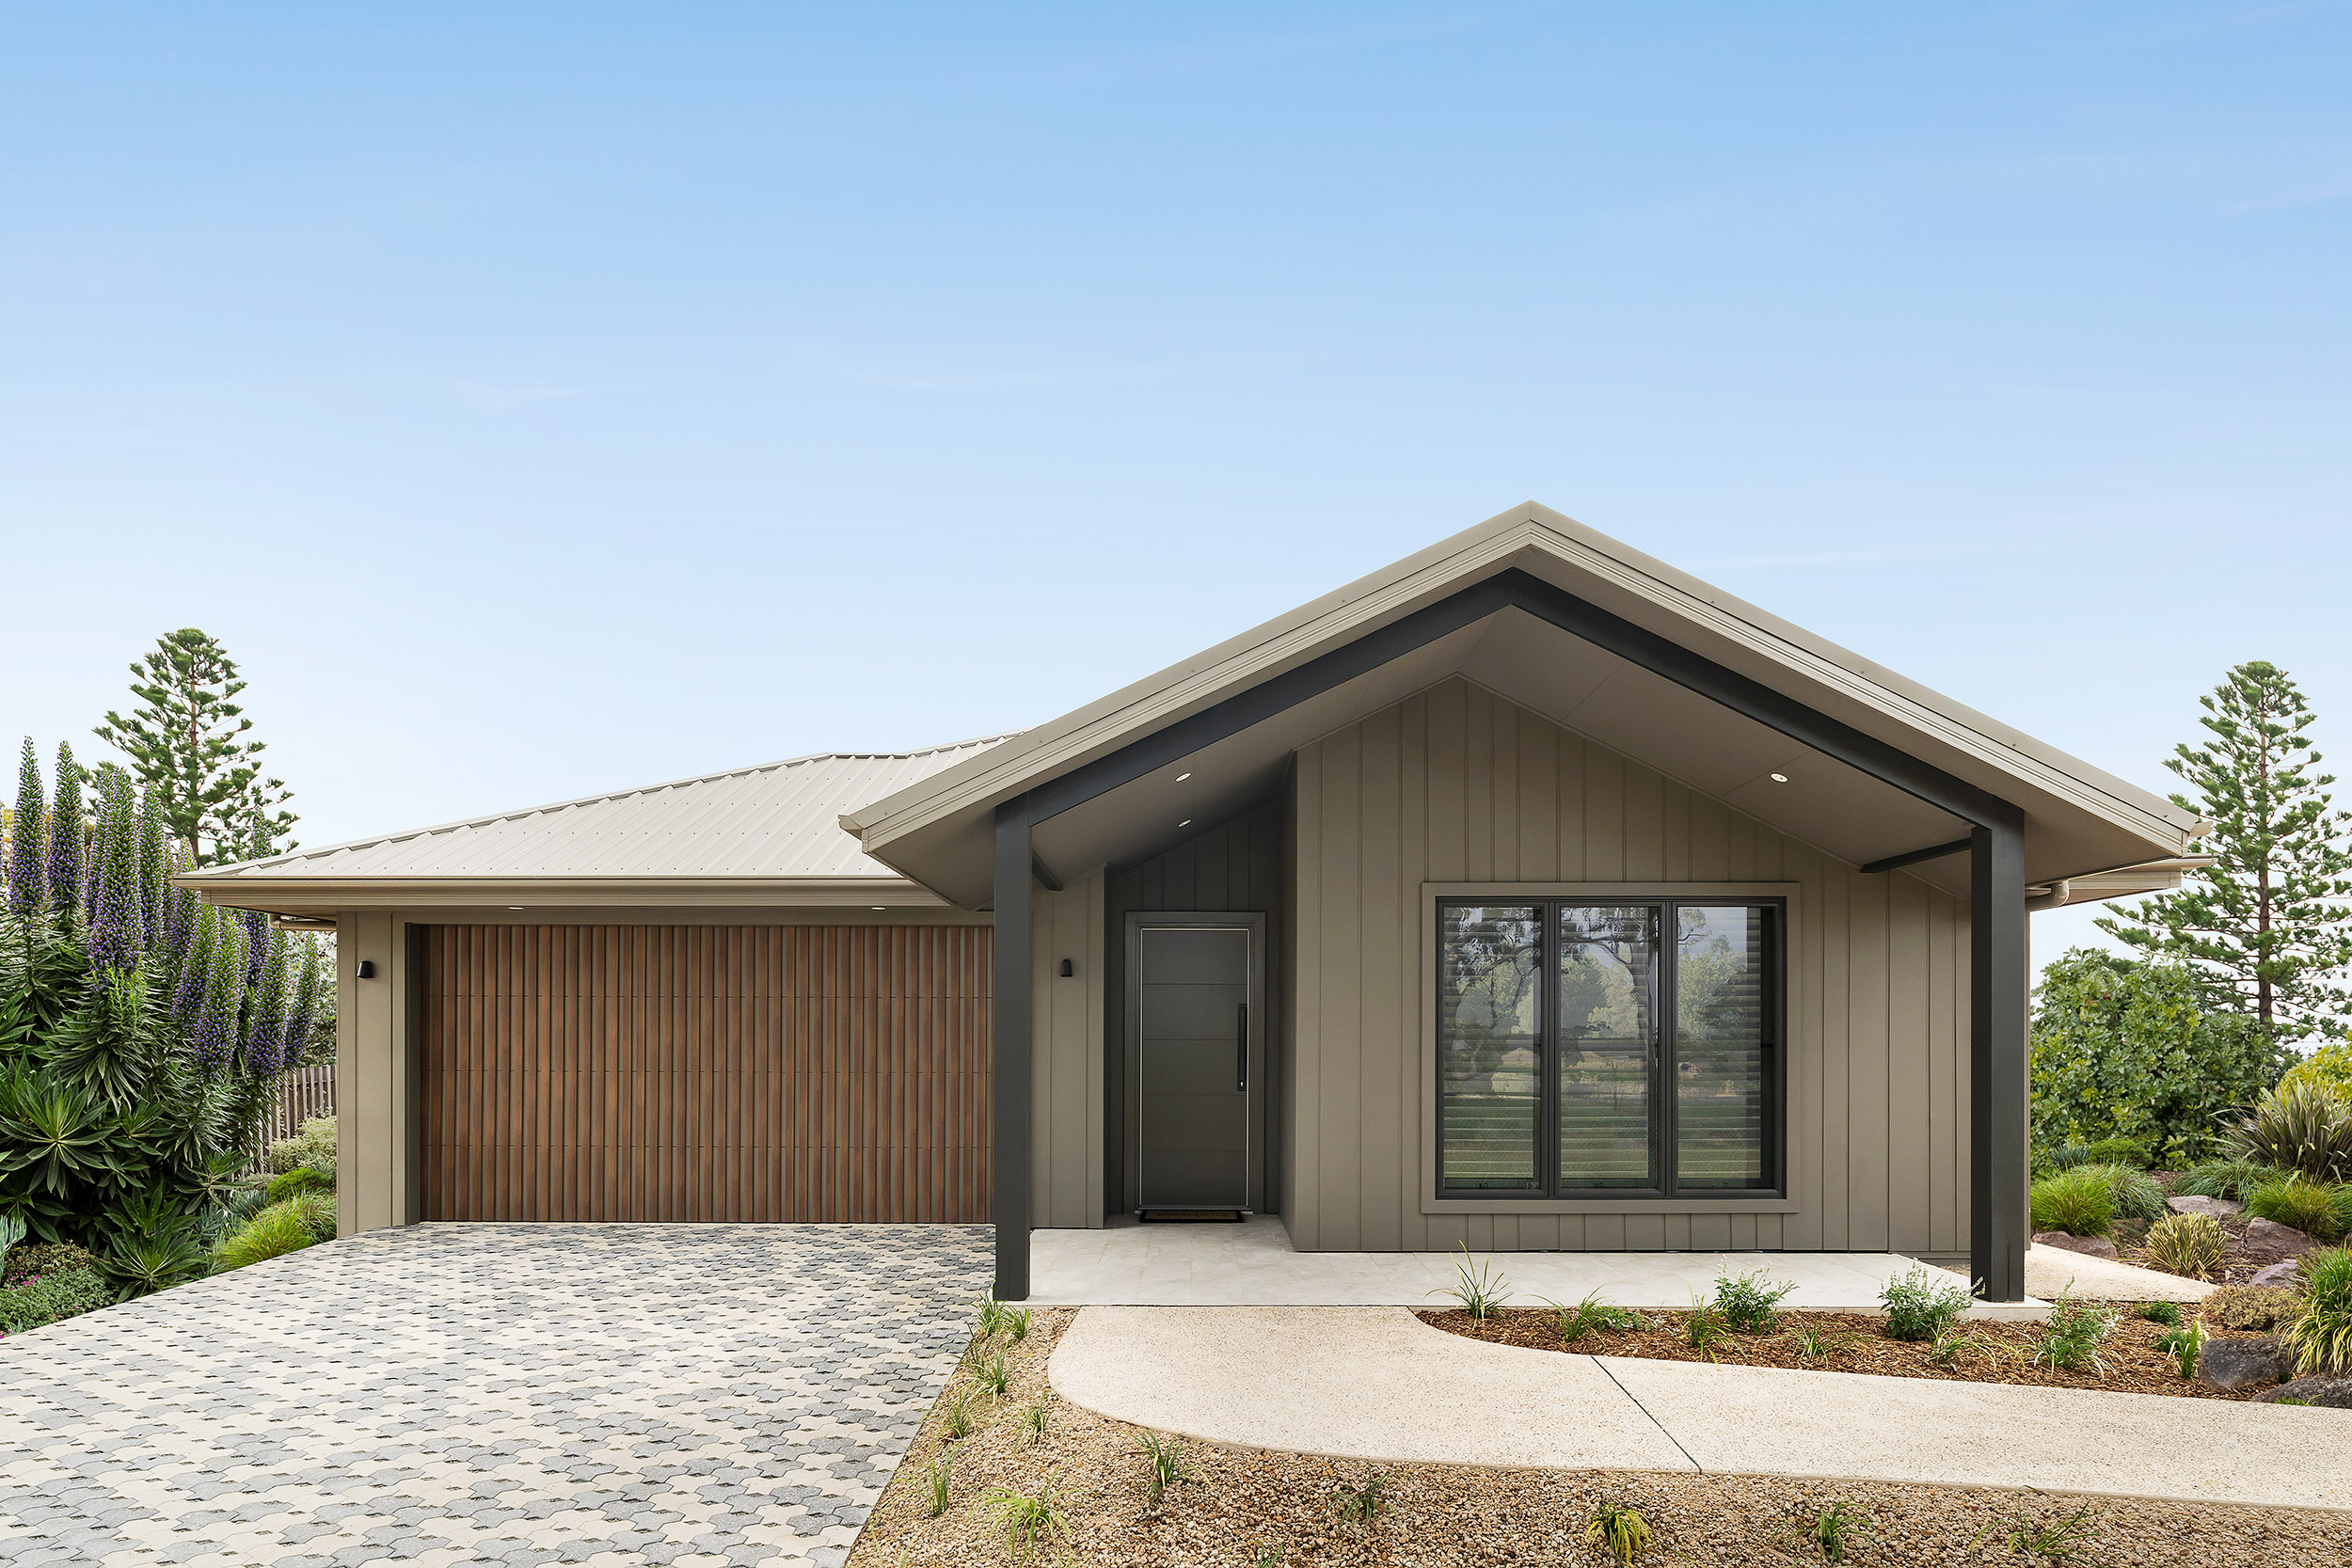
Ever wonder how your house would look like with an award-winning designer garage door? At Steel-Line, we can make your dream a reality. Simply upload a photo of your house and choose the style and colour you want, and then you can show off your great design to your friends and get an estimated pricing in a few minutes.
Here are some tips about how to design your garage door step-by-step with our garage door visualiser:
Step 1: find the garage door visualiser tool
Go to the Steel-Line website and click on the button above (Design Your Garage Door Now) icon at the top of the website.
Step 2: select your own photo or select a sample project – start designing
1) When you log on to the Steel-Line Garage Door Visualiser, you will notice the two options you have for getting started.
2) The first option is “Use My Own Photo”. You can upload a photo of your home and find a garage door that suits your style. The photo shouldn’t be larger than 10MB in file size. By clicking on the “choose a file” button, you can upload a photo from your photo library. If you are using a tablet or a smartphone, you can take a photo with your camera.
3) If you don’t have a photo of your home or just want to browse what kind of garage doors are available, you can click on the second option “Use a Sample Projects” and select a sample project image.
Step 3: draw your doors
1) Click on the “draw your doors” button after uploading a photo of your house.
2) Click on the “add a door” button on your left-hand side.
3) select either “single door” or “double door” for your house. Now you can see a blue mask above the photo.
3) Drag the blue mask to the right position and then adjust the shape by dragging the blue corner points to match the garage opening.
4) If you have two or more garages, you can simply repeat this process by clicking on the “add a door” button and drag another blue mask to the second garage opening.
Step 4: select a product and profile
1) By clicking on the “start designing” button on the top, you will see the four garage door products on your left-hand side.
2) Let’s take a “sectional garage door” as an example. Click on the “sectional garage door” button, you will see a number of garage door layouts on your left-hand side. The four panels layout is suitable for a 1.8 to 2.4 meter high opening, and the five panels layout is suitable for a 2.4 to 3 meter high opening.
3) Select a design for your garage door. Let’s take the fourth option “Ranch – 4 panels” as an example. Click on the “Ranch – 4 panels” button, you will see the door profile changing on your right-hand side. If you are happy with this garage door profile, you can click on the “DONE” button at the top left corner.
Step 5: select your garage door colour, windows and extras
1) The default colour range is the first option. By clicking on the “Colour Range” button on your left-hand side, you will see a number of colour ranges.
2) Let’s take the “Colorbond standard” range as an example. Click on the “Colorbond Standard” button, and you will see a number of standard Colorbond colour options.
3) Choose the garage door colour you like and then click on the “DONE” button at the top left corner.
4) For sectional garage doors, there are a few extra options, such as handle, windows and ventilation. The default option is none for handle, windows and ventilation. Let’s take garage door window as an example. If you want to add windows to your garage door, you can click on the “Select Window Style” button and then click on “DONE”. You will see a number of options for your garage door windows on your left-hand side. Click on the “Select Acrylic Colour” button, you will see two colour options for your acrylic window inserts. Click on the colour your like and then click “DONE”. Follow the same process to select window design and window trim colour. Please note that that the window trim colour is only available in standard Colorbond colours.
Step 6: finalise your design and review before and after.
1) If you click on the eye shape icon at the top menu, you will see the picture of the garage door you just designed.
2) After you finish designing your garage door, you can click on the “REVIEW YOUR DESIGN” button at the top right corner.
3) By clicking on the “Before” and “After” button, you can compare the looks of your house with or without the new garage door. The garage door details and price guide are listed under the image.
4) If you want to go back and make any changes, you can click on the “CHANGE YOUR DESIGN” button at the top right corner of this page.
Step 7: Your local Steel-Line product consultant will be in contact to book in your new door
1) You can also email your design to yourself or your friend by clicking on the “Email your design” button and typing the receiver’s name and email address.
2) To download or print your design, you can click on the “print” button and download the design as a PDF file.)
3) By clicking on the “Request free measure and quote” button and submitting a contact details form, you will send a request to Steel-Line. Your local Steel-Line product consultant will contact you and give you a FREE quote on the garage door that you just designed.
If you need assistance at any stage, please call Steel-Line Garage Doors on 1300767900. One of our friendly staff members will be very happy to help you.
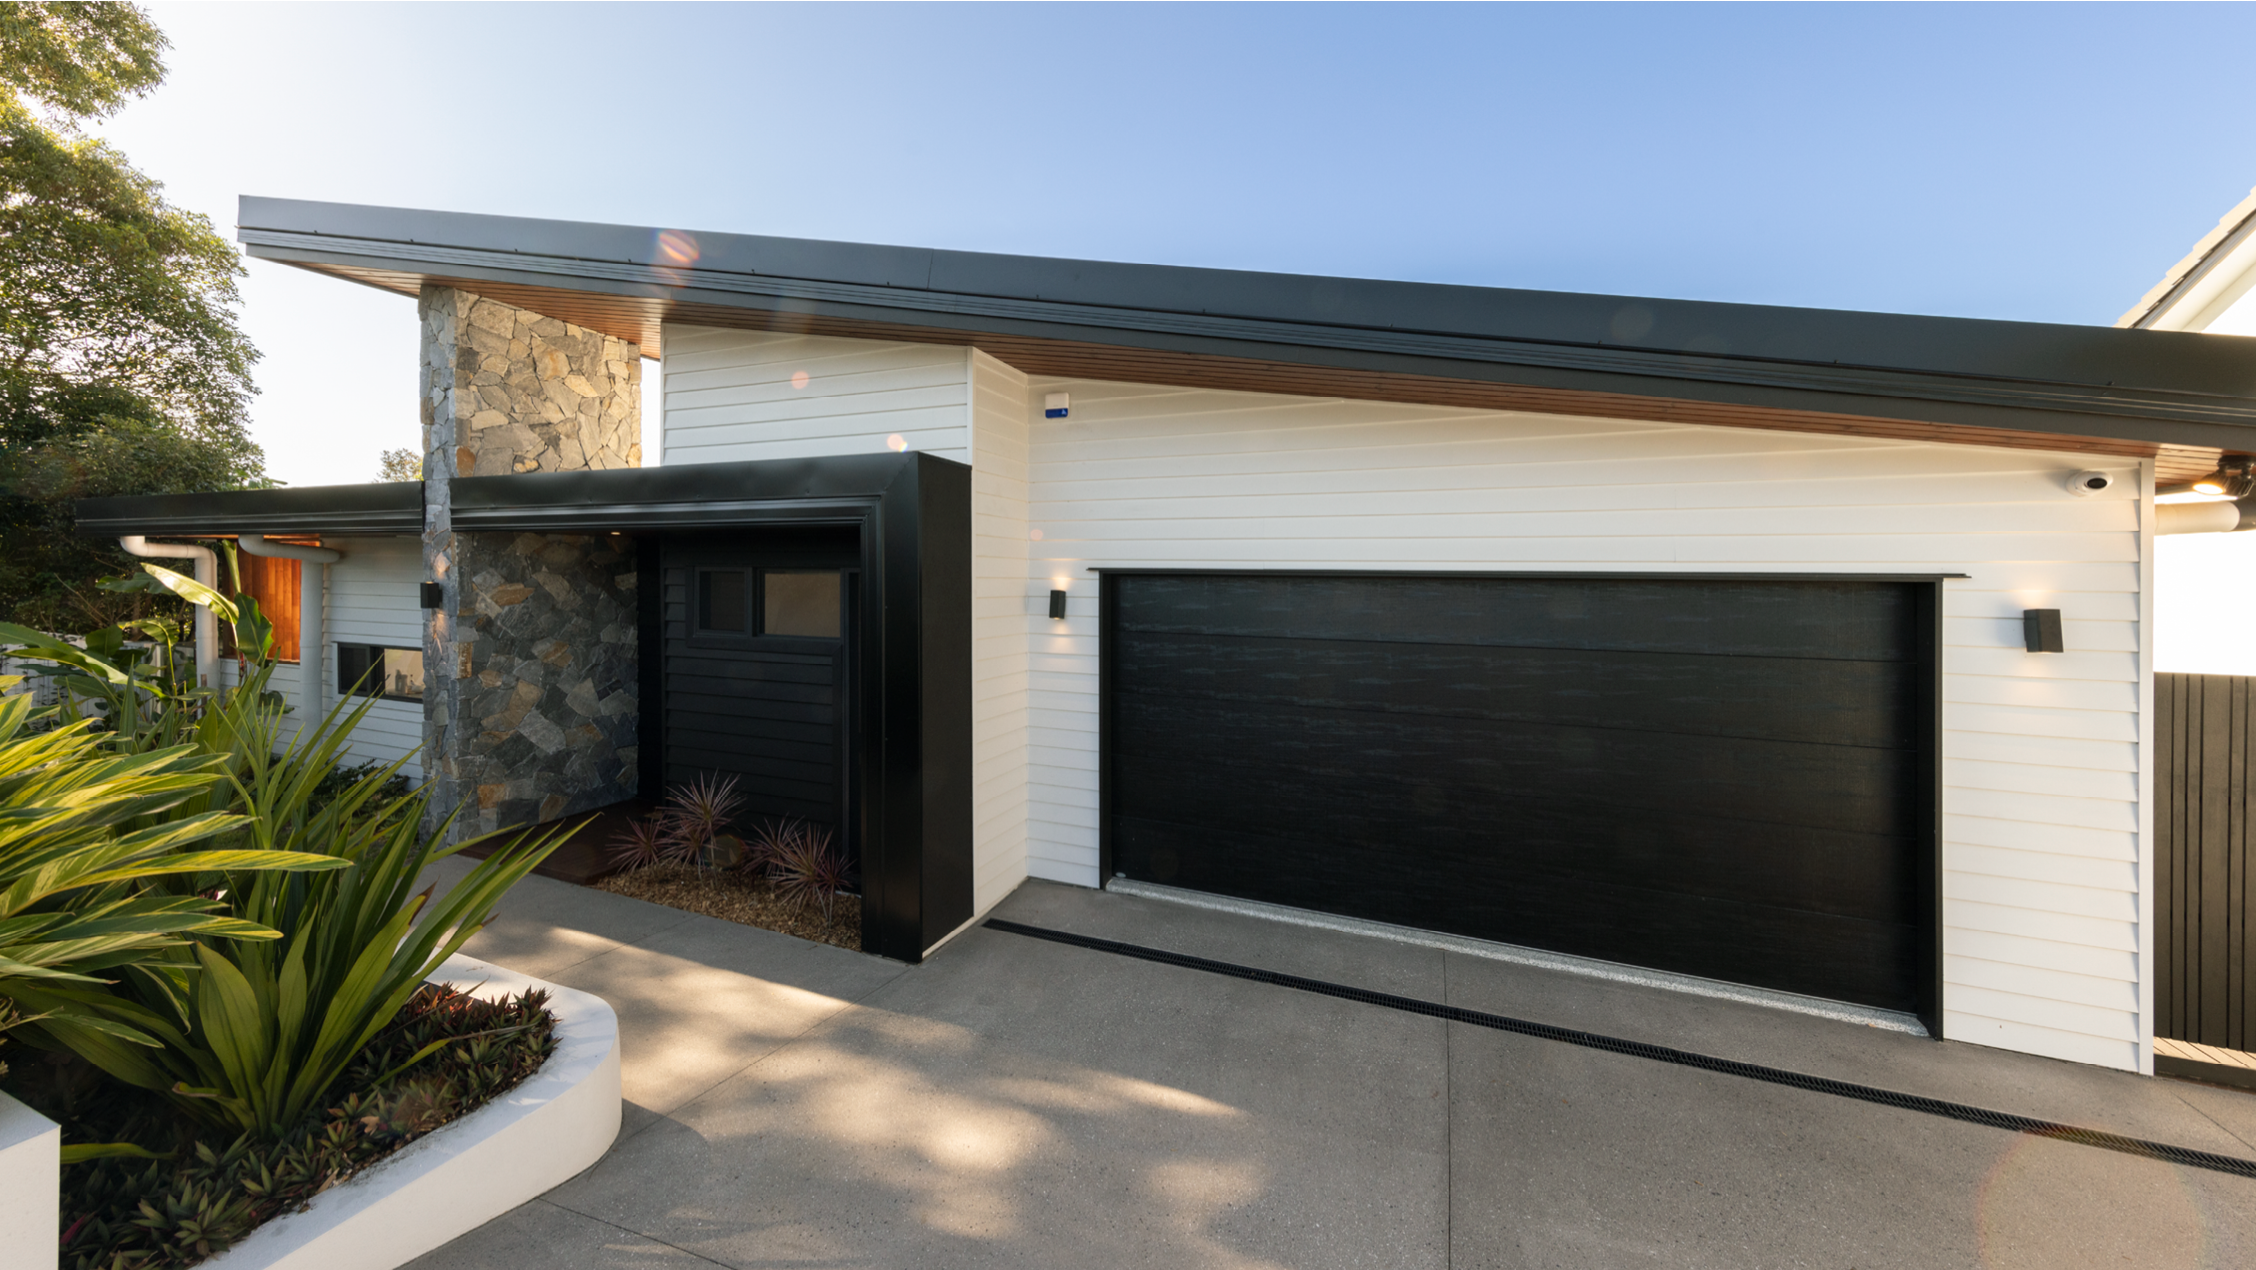
Discover the perfect door for your home and enjoy peace of mind with the experts in garage doors.